How to Make Crispy Fish Skin Chips: Easy, Crunchy & Delicious

Crispy fish skin chips have always held a special place in my heart—and my kitchen. Hi there — and a warm welcome to my little corner of the kitchen! I’m Scarlett Thompson, and I’m so thrilled you’ve found your way here. Cooking, for me, has always been more than just food on a plate. It’s about the stories we tell, the people we share it with, and the magic that happens when simple ingredients come together in just the right way.
Back in my grandmother’s Portland kitchen, nothing ever went to waste. After she filleted salmon or trout, she’d toss the skins into a hot pan, and within minutes, we’d have this golden, salty snack that crackled with every bite. No frills—just pure, satisfying crunch. Today, I carry on that tradition with my own twist: a simple technique that transforms fish skins into irresistibly crispy chips using a boil, dry, and fry method.
In this recipe, I’ll show you exactly how to make crispy fish skin chips that rival your favorite gourmet snack brand (yes, even Irvins!). Whether you’re craving a salty bite or looking to make the most of your ingredients, you’re in the right place. Let’s get started—and don’t worry, we’ll keep it simple, just like Grandma did.

How to Prep for the Perfect Crispy Fish Skin Chips
Choose the Right Fish Skin for Frying
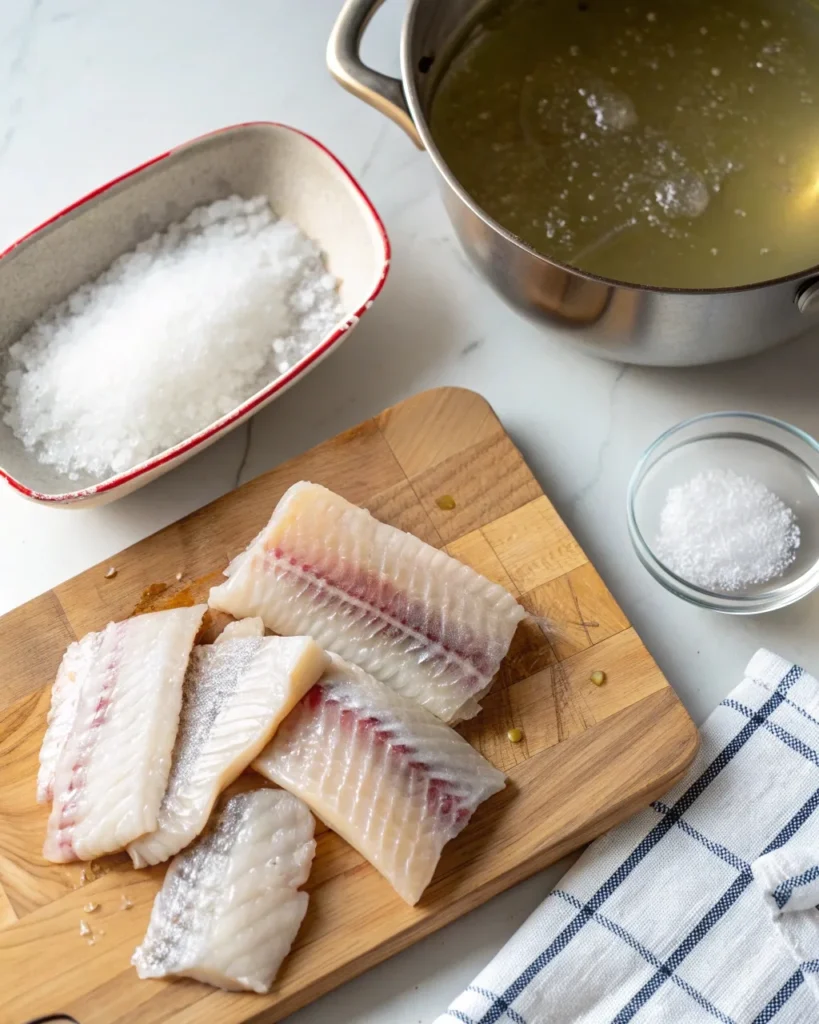
Start with about a pound of fresh fish skin—salmon, snapper, or even trout work beautifully. The key is that the skins are scaled completely. You don’t want any lingering scales ruining the bite. Thicker skins like sturgeon or shark will need a longer boil, but thin-skinned fish like tilapia need only a quick dip.
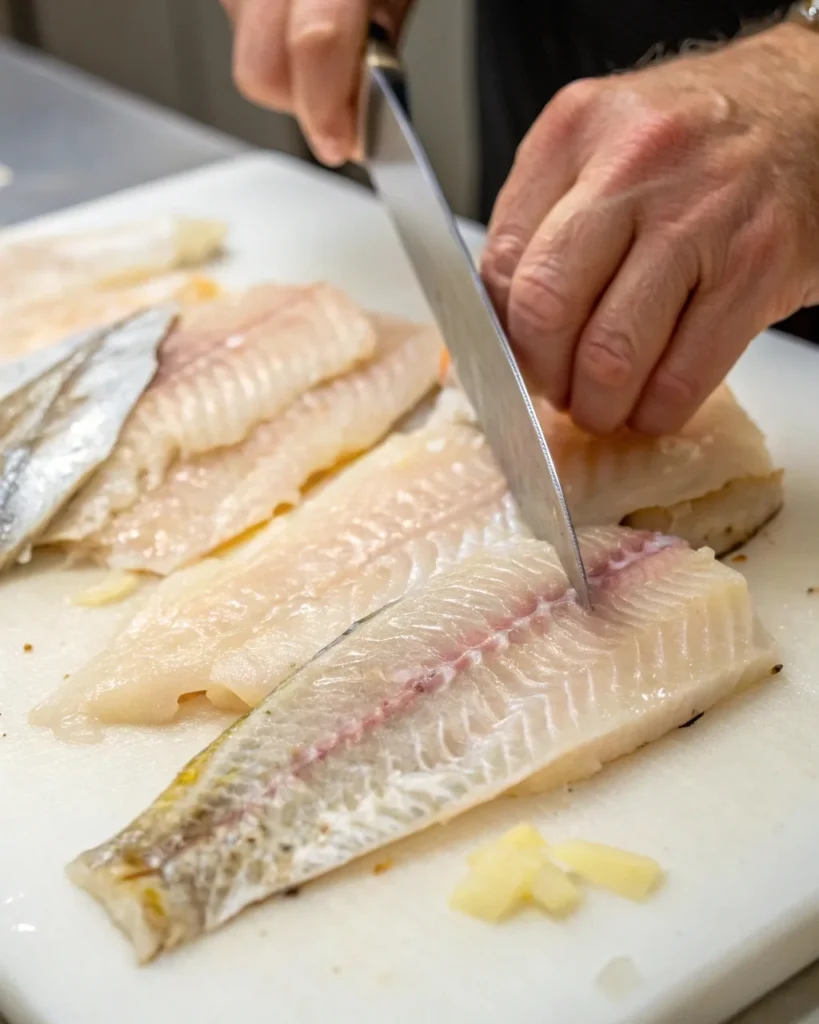
Lay them flat, meat side up, and trim any visible flesh. The goal here is purity: skin and fat, nothing else. If you’re using leftovers from filleting, like when prepping octopus tacos or even a seafood soup, this is a great way to use those scraps smartly.
Boiling Before Dehydrating

Bring a pot of well-salted water to a steady, rolling boil—just enough to comfortably cover the skins. Drop the skins in and let them bubble for about a minute; thicker varieties may need up to five. The salt does more than season—it tightens and firms the skin for better results later.
Once they’re boiled, lift each piece out and gently scrape the underside to clear away any clinging bits of meat or fat. A butter knife is ideal—sturdy without being sharp. Take your time here. A careful scrape will affect how evenly the skin dries and crisps.
Place them meat-side down on a rack. They’re now ready for the next step: drying.
Drying the Skins: The Secret to Crispy Fish Skin Chips That Puff Perfectly
Now that you’ve cleaned and boiled your skins, it’s time to prepare them for that satisfying crunch. The drying step is what makes or breaks truly crispy fish skin chips. It removes all moisture so that when the skin hits hot oil, it puffs instantly and turns into a light, crispy bite.
Place each piece flat, with the meat side down, on a dehydrator tray or a wire rack set over a baking sheet. Make sure there’s enough space between them to allow air to flow freely. If you have a dehydrator, set it to about 140°F for the best results. No dehydrator? Your oven can work just as well. Simply set it to the lowest temperature and leave the door slightly ajar to help moisture escape. The drying process will take anywhere from 3 to 6 hours, depending on the thickness of the skins.
The goal is complete dryness. When ready, the skins should snap clean in half, not bend or feel rubbery. This dry texture is essential to achieving that signature airy crunch that defines well-made crispy fish skin chips.
Here’s a little bonus: if you’re already cooking something savory like adobo chicken wings, you can dehydrate the skins right after—while the oven’s still warm. It’s an easy way to stretch your prep time into something even more delicious.
Once dry, store the skins in the fridge for a few days or freeze them for later. They’ll be ready to fry whenever the craving strikes.
Drying might take a little patience, but it’s the foundation for homemade crispy fish skin chips that rival any store-bought version—and cost a whole lot less.
1.Frying to Perfection: Puffing Up Crispy Fish Skin Chips
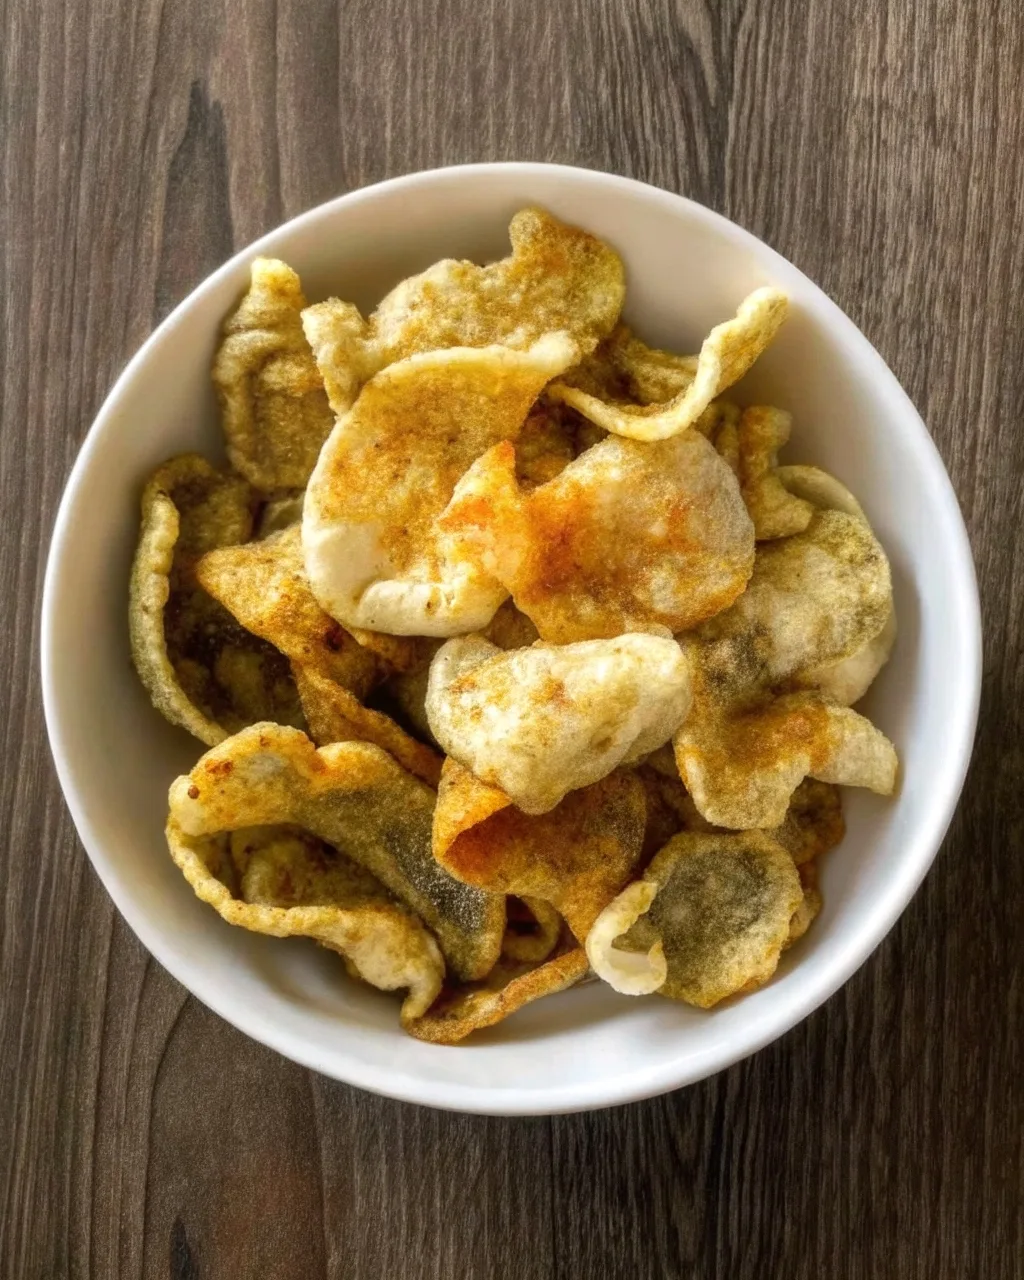
The real magic happens in the frying stage. 1.After all that careful drying, this is the part where your skins transform into golden, crispy fish skin chips that crackle as you bite in.
3.Heat your oil to 360°F, using a neutral oil with a high smoke point like peanut, sunflower, or canola. Be sure not to overcrowd the pan—fry just one or two skins at a time to maintain a steady oil temperature.
Gently drop a dried fish skin into the hot oil and watch it puff up almost instantly. That immediate expansion is your cue that everything’s going perfectly. Each chip only needs about 30 seconds—just long enough for the bubbling to slow and the skin to become firm and crispy. 2.Keep a slotted spoon nearby to scoop them out quickly.
As soon as they hit the paper towels, season them while they’re still hot. Salt is classic, but don’t be afraid to play. I’m a fan of Mexican Tajín for a tangy kick, or even a sprinkle of five-spice if I’m in the mood for something bold.
Making your own crispy fish skin chips gives you total control over flavor, texture, and freshness—and let’s be honest, it’s way more fun than tearing into a bag of overpriced snacks. (Yes, we’re looking at you, Irvins.)
These chips also pair beautifully with a light seafood meal, or something like giant tortilla wraps for contrast in texture. They even work as a crunchy topper for rice bowls or salads.
And once you hear that first crackle, you’ll know: this was 100% worth it.
Serving and Storing Crispy Fish Skin Chips: The Final Crunch
Once your crispy fish skin chips are fried and seasoned, you’ve got more than just a snack—you’ve got a conversation starter. These crunchy bites are wildly versatile and disappear fast, so don’t be shy about making extras.

How to Serve Them
The simplest way? Pile them high in a bowl and serve them warm with drinks. They pair perfectly with cold beer, sparkling water, or even a citrusy cocktail. For a fun twist, serve them alongside a dipping sauce—garlic aioli, sweet chili, or spicy vinegar all bring out different sides of the flavor.
Want to get a little fancy? Try using the chips as a topping. They add a beautiful crunch to creamy soups, Asian-style noodle bowls, or even atop poke. One of my favorite ways is crumbling them over a bowl of sticky rice with scallions and sesame oil—pure comfort.
You can also tuck them into wraps for texture (try them with beef shawarma bowls or fish tacos), or break them up and use as a low-carb alternative to croutons.
Storing for Later
To keep your crispy fish skin chips crisp, let them cool completely before sealing them in an airtight container. A paper towel inside the container helps absorb moisture and extend shelf life. They’ll stay crisp for up to 3 days at room temp—if they last that long!
For longer storage, freeze the dried (but unfried) skins and fry them fresh whenever the craving hits. It’s like having gourmet chips on demand.
Homemade crispy fish skin chips also make a unique edible gift. Just tuck them into a wax paper-lined tin or jar, and tie with twine. Add a note: “Warning—highly addictive.”
Frequently Asked Questions About Crispy Fish Skin Chips
How do you get fish skin crispy?
The key to crispy fish skin lies in three steps: remove all flesh and fat from the skin, dehydrate it thoroughly until it’s brittle, and fry it in hot oil (around 360°F). The drying stage is essential. If there’s any moisture left, the skins won’t puff properly. Once fully dry, frying transforms them into airy, crispy fish skin chips in just seconds.
Why is Irvins fish skin so expensive?
Irvins snacks are imported and marketed as premium, with trendy packaging and bold flavors. But the core ingredients—fish skin, oil, and seasoning—are incredibly simple. Making crispy fish skin chips at home costs a fraction of the price and gives you control over everything: flavor, freshness, and quality.
Which fish is best for crispy skin?
Fatty fish like salmon, trout, and snapper tend to make the best crispy fish skin chips. Their skins are thick enough to hold up during drying and frying, and they puff beautifully. Thin-skinned fish like tilapia or cod work too, but may require more careful drying. Always start with fresh, fully scaled skins for best results.
How do you make crispy fish skin crackers?
Fish skin crackers are essentially the same as crispy fish skin chips. Start by boiling and cleaning the skins, then dry them completely—either in a dehydrator or a low oven. Once they’re dry and brittle, deep-fry them in hot oil until puffed. Season immediately with salt or your favorite spice blend while they’re still hot.
Conclusion
So there you have it—your complete guide to making crispy fish skin chips at home, right from the humble fish fillet to the final glorious crunch. What started as kitchen scraps becomes something exciting, savory, and honestly kind of addicting. It’s not just about saving waste; it’s about creating something memorable from the most unexpected ingredients.
Whether you’re making a quick batch to snack on during movie night, topping off a bowl of rice, or surprising guests with something totally different, these crispy fish skin chips are your new secret weapon. And once you taste that light, puffed crunch—seasoned just how you like it—you’ll never look at fish skin the same way again.
Thank you for spending time with me in the kitchen today. I hope this recipe brings you the same kind of joy it’s brought to my family for generations. If you loved this one, you might also enjoy octopus tacos or giant tortilla wraps for your next kitchen adventure.
Until next time—stay curious, stay crispy, and keep cooking from the heart.
— Scarlett
Print
How to Make Crispy Fish Skin Chips: Easy, Crunchy & Delicious
- Total Time: 25 minutes
- Yield: 4 servings 1x
Description
Learn how to turn leftover fish skin into crispy, puffed chips with this simple, addictive recipe.
Ingredients
1 pound fish skins (fully scaled)
Oil for frying
Salt (to taste)
Instructions
1. Cut fish skins into large pieces and remove all stray scales.
2. Boil skins in salted water for 1–5 minutes, depending on thickness.
3. Scrape off all meat and fat from the undersides with a butter knife.
4. Lay skins meat side down on dehydrator trays or racks.
5. Dry completely at 140°F (or low oven) until brittle and snappy.
6. Heat oil to 360°F and fry skins one at a time until puffed (30 seconds).
7. Remove and season immediately with salt or preferred seasoning.
Notes
Store dried skins before frying in the fridge (2–3 days) or freeze for later use.
Season right after frying while chips are hot.
Try Tajín, sea salt, or five-spice for bold flavors.
- Prep Time: 15 minutes
- Cook Time: 10 minutes
- Category: Snack
- Method: Frying
- Cuisine: Asian
Nutrition
- Serving Size: 1/2 cup
- Calories: 120
- Sugar: 0g
- Sodium: 190mg
- Fat: 9g
- Saturated Fat: 2g
- Unsaturated Fat: 6g
- Trans Fat: 0g
- Carbohydrates: 1g
- Fiber: 0g
- Protein: 10g
- Cholesterol: 25mg
